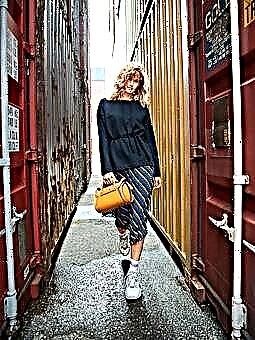
Using the drawstring, you can create a drapery effect in the product, emphasize or change the location of the waist line, shape, for example, sleeves, and make a neckline in the style of carmen.
The drawer can be stitched, bent, stitched or made in the seam due to large allowances. It forms a narrow groove, where they stretch an elastic tape (elastic band) or cord for ties. The drawstring is performed both on the wrong side and on the front side of the product.
The stitched drawstring is an independent part, cut separately. How to perform it correctly, consider the example of a pullover in a sports style from Burda 2/2019:
Master Class- Special offer
- 1
- 2
- 3
- 4
- Special offer
- 1
- 2
- 3
- 4
Step 1
According to the instructions, cut out the detail (s) of the drawstring waist of the back of the pullover - a strip of the required length and width with allowances for cuts - 1.5 cm.
Handle with drawstring in a knitwear
Step 2

Make the side seams of the product.
Step 3
Trim all sections of the drawstring detail.
Step 4
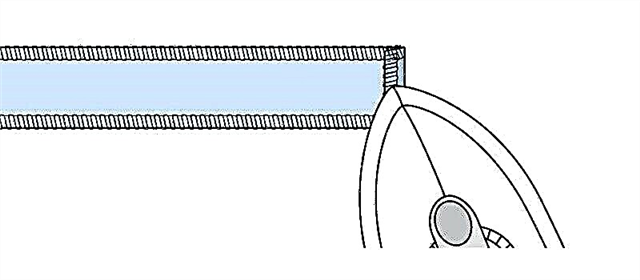
First iron short, then longitudinal sections of the drawstring to the wrong side, with a width of allowance of 1.5 cm.
Step 5
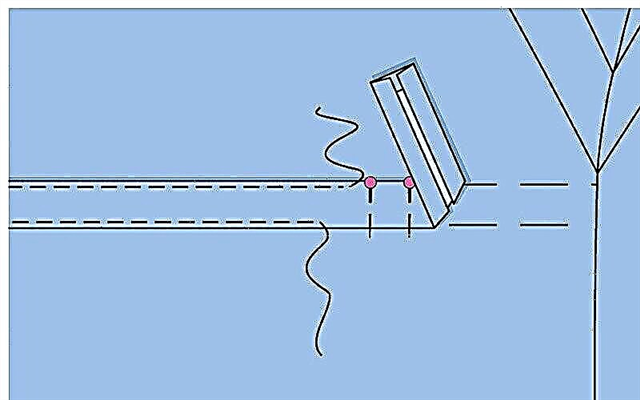
Pin the detail of the drawstring or sweep to the back of the pullover exactly along the alignment lines (according to the marking) on the front side, while the ends of the strip should lie at the side seams of the pullover.
Step 6
Draw a drawstring along the upper and lower ironed sections to the edge. Bind at the beginning and end of the stitches. At the same time, short sections remain open - inputs for the tape.
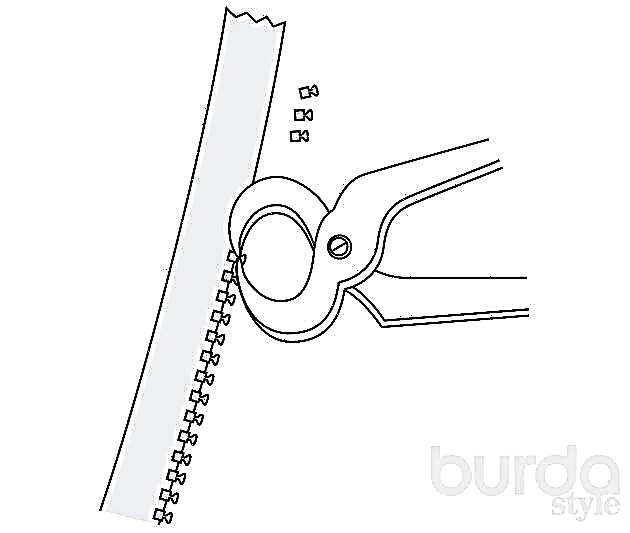
How to insert a rubber band using a safety pin
Step 7
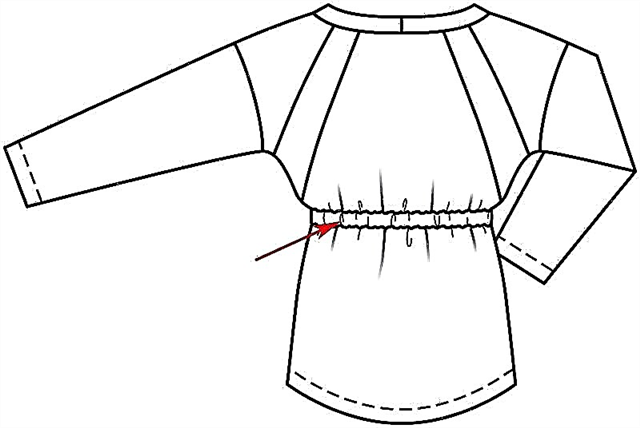
Using a safety pin, put a piece of tape of the required length into the drawstring of the waist of the back.
Source and illustration: Burda 2/2019