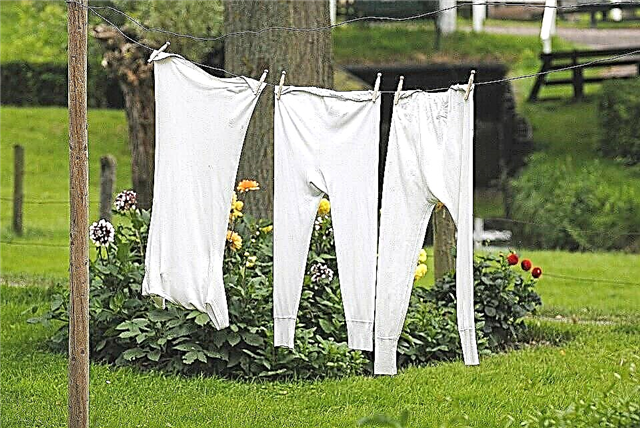
Finishing with a contrasting edging brings a bright touch to the image, focuses on the individual details of the finished product, elegantly emphasizing them.
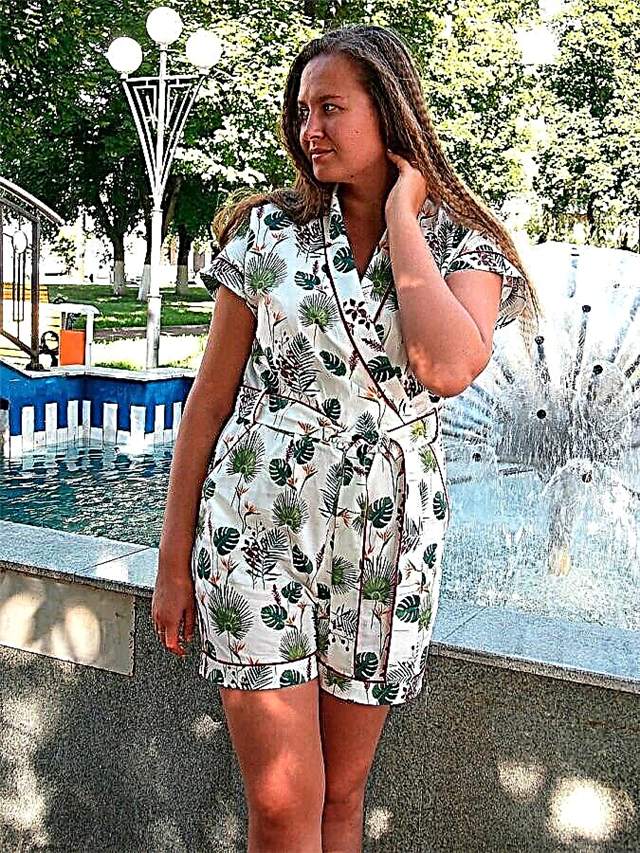
A short jumpsuit with a shawl collar is trimmed with a piping made of woolen threads and an oblique inlay made of cotton sateen.
- Special offer
- 1
- 2
- 3
- 4
From this master class you will learn how to make a volume edging with your own hands and sew it.
How to make edging with the zipper foot
You will need:
- Woolen threads for knitting;
- Slanting inlay;
- Needle and thread for sewing;
- Sewing machine;
- Tailor scissors and pins
Step 1
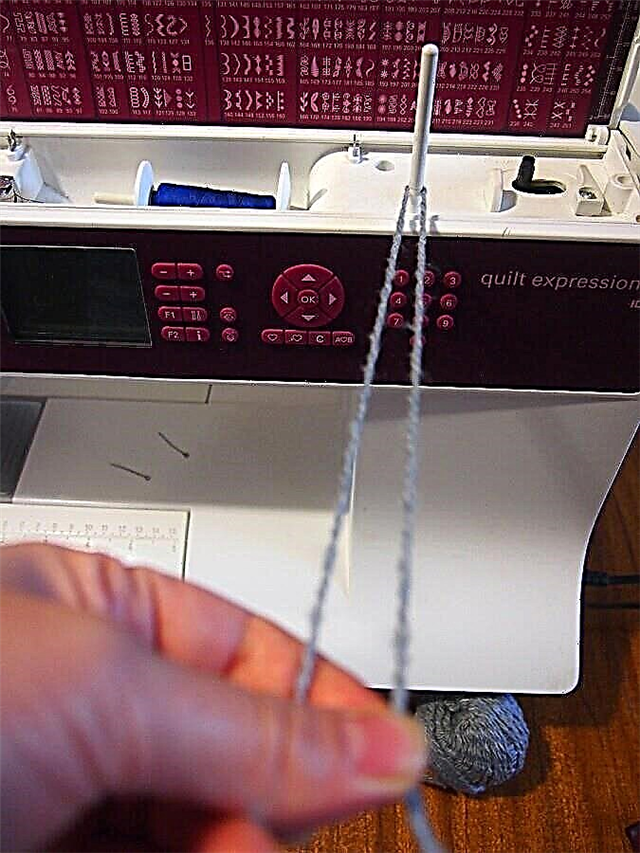
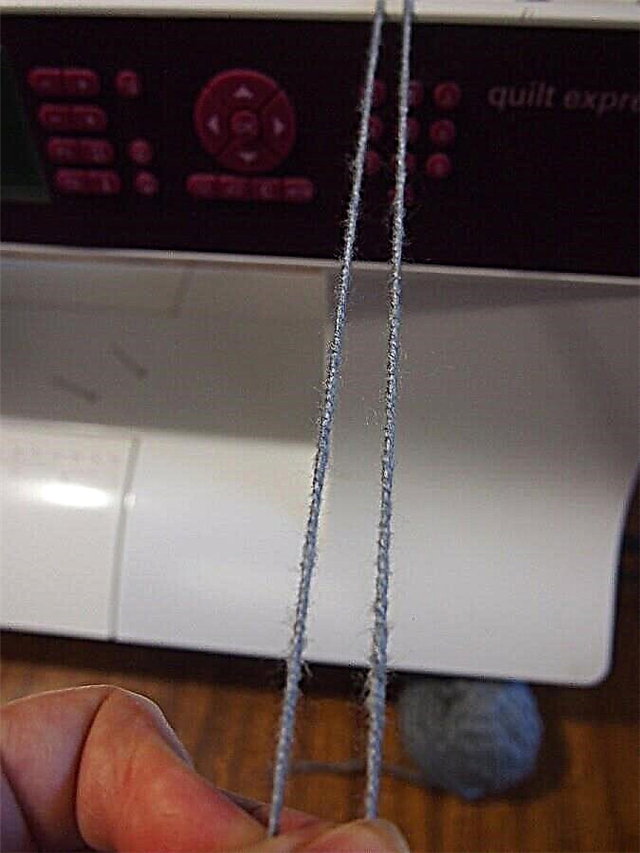
Spread a woolen thread for knitting on the thread holder on your sewing machine.
Pull the thread.
Start twisting both threads at the same time, rotating them in one direction.
Step 2
Twist the threads as tight as possible, but do not loosen the tension.
Step 3
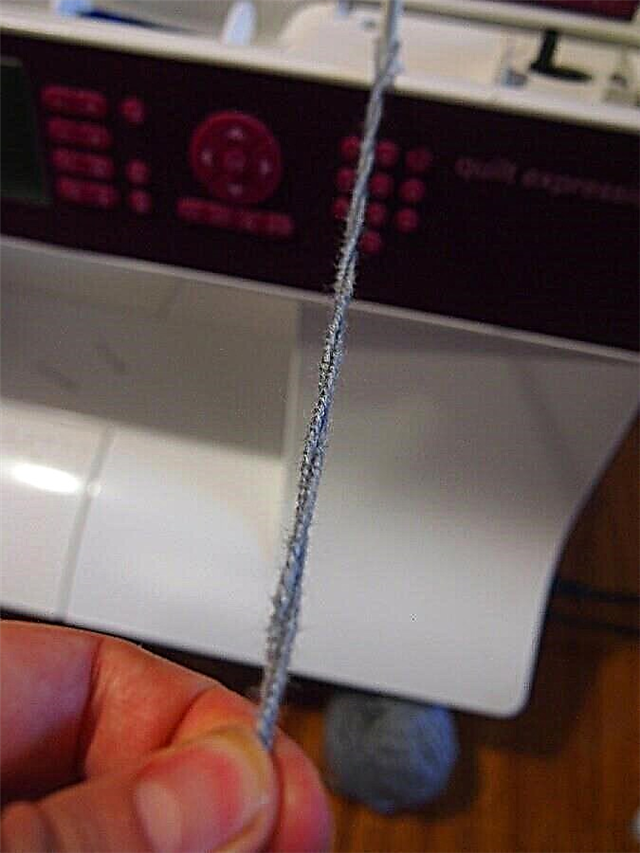
Connect both threads.

Twist and twist them together, but already in the opposite direction.
How to make a slanting trim with the help of a tailor's pin
Step 4
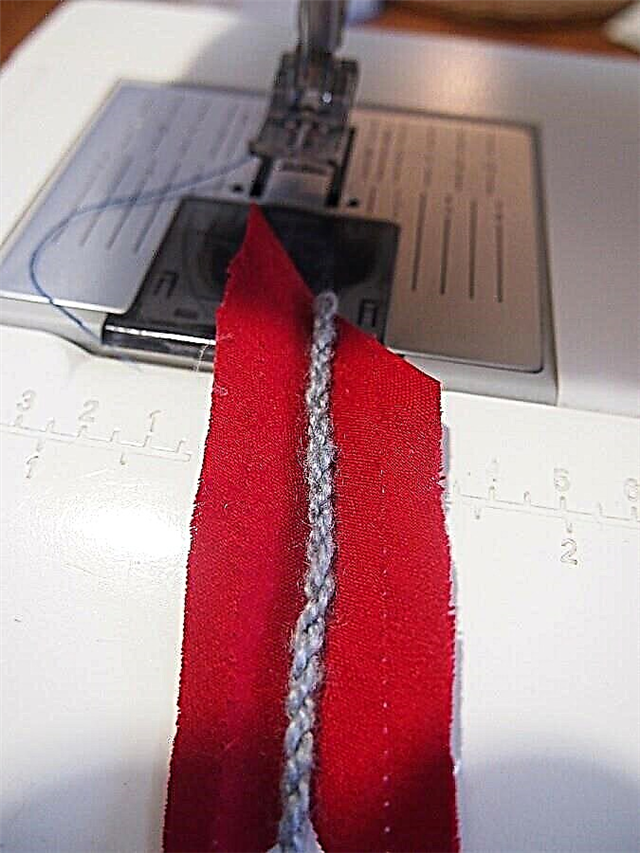
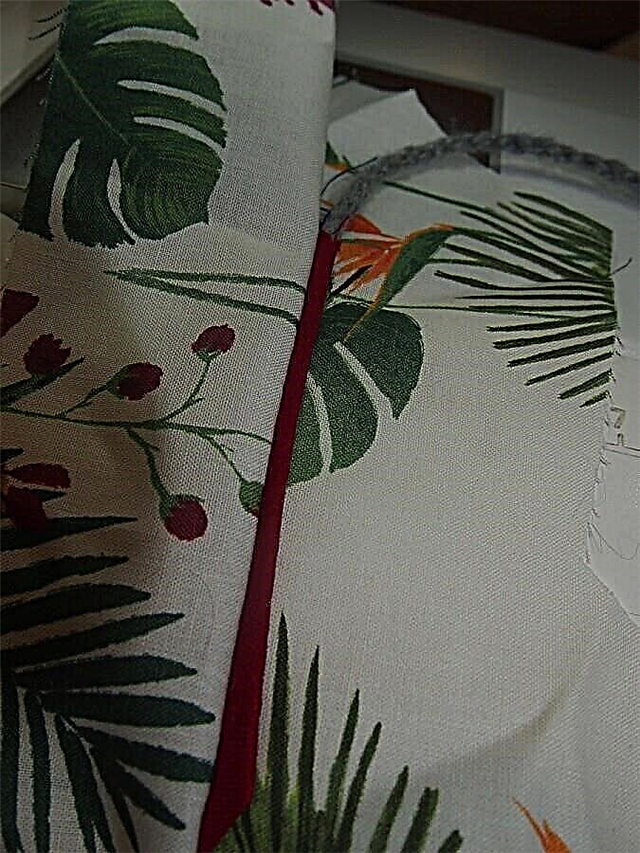
Place the finished cord in the center of the bias tape.
Fold the collar by combining long sections.
Step 5
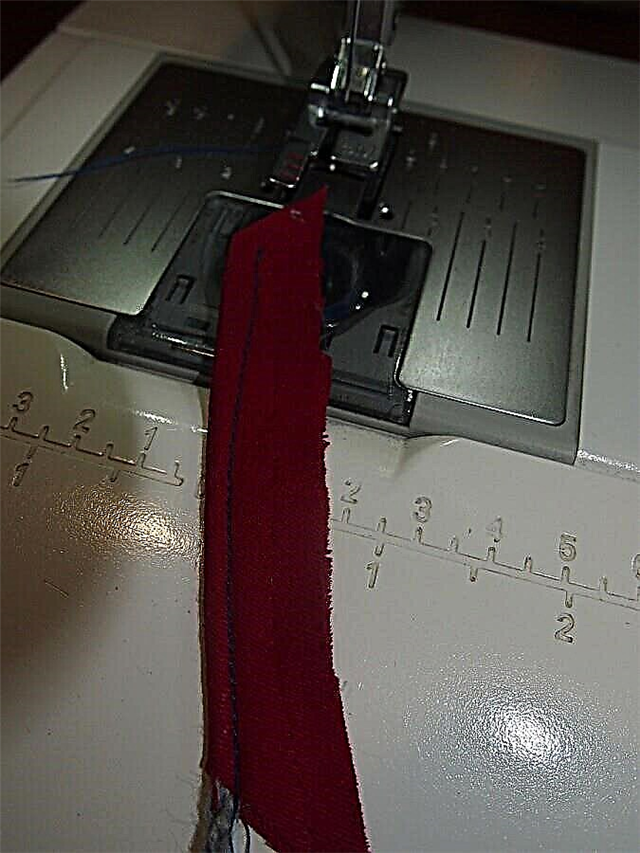
Using a special foot with a groove, postpone the edging.
In this master class, a slanting inlay is made with your own hands from thick cotton satin.
If the edging and inlay are made of thin, slippery material, they must first be swept away or chopped off.
Step 6
Kant is ready.
Step 7
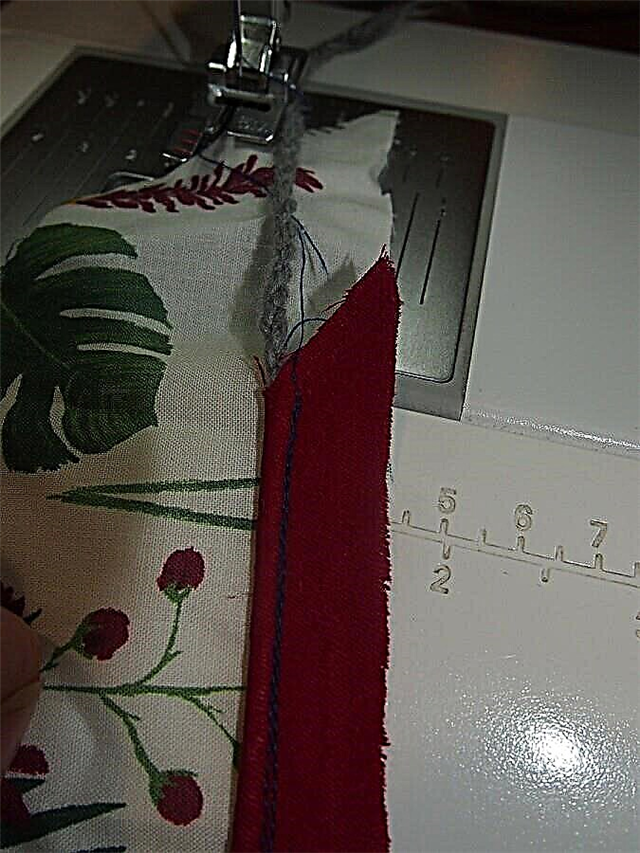
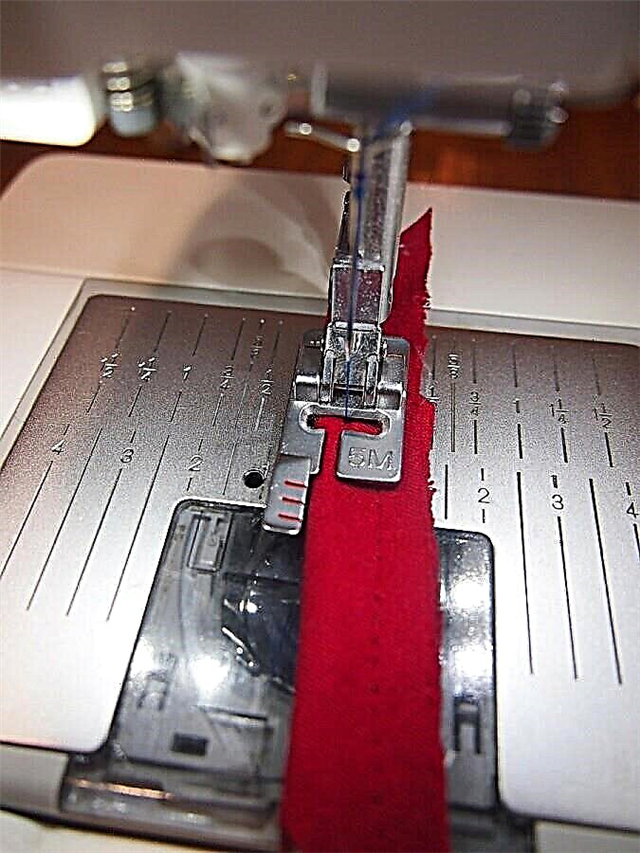
Place the edging on the front side of one of the parts of the product, aligning the slices, and stitch.
Edging of the neck and armhole of the product edging
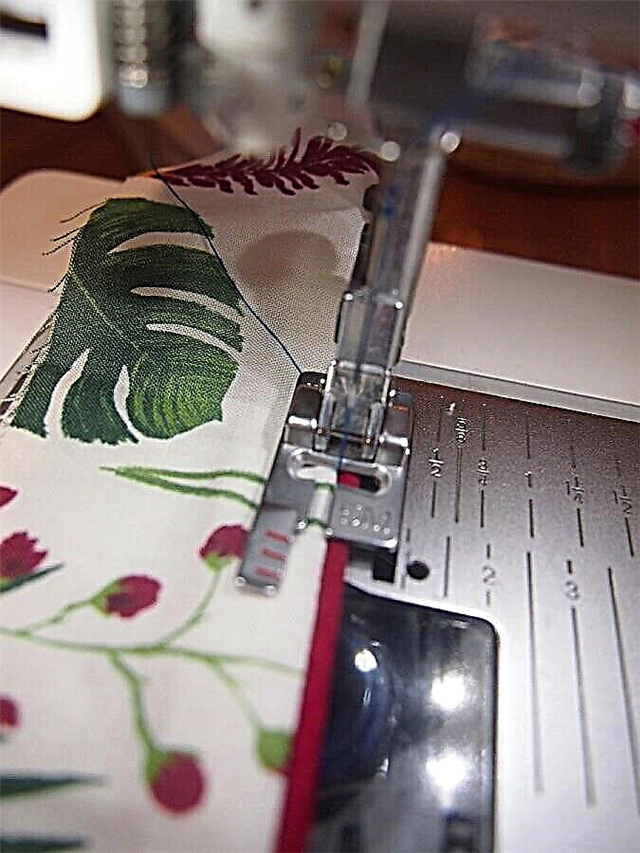
Step 8
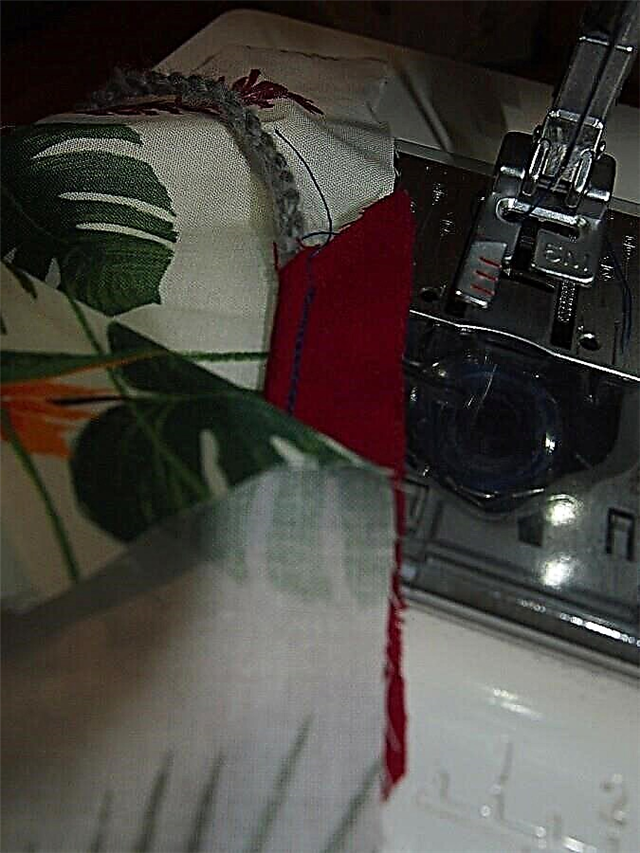
Place another part over the edge. Sweep or chop parts and edging with each other.
Stitch the details by laying a new line in the seam of the sewing on the edge.
During the grinding of parts, the edging falls into the groove of the foot, which results in a smooth and accurate stitching.
Step 9
Kant is set in.
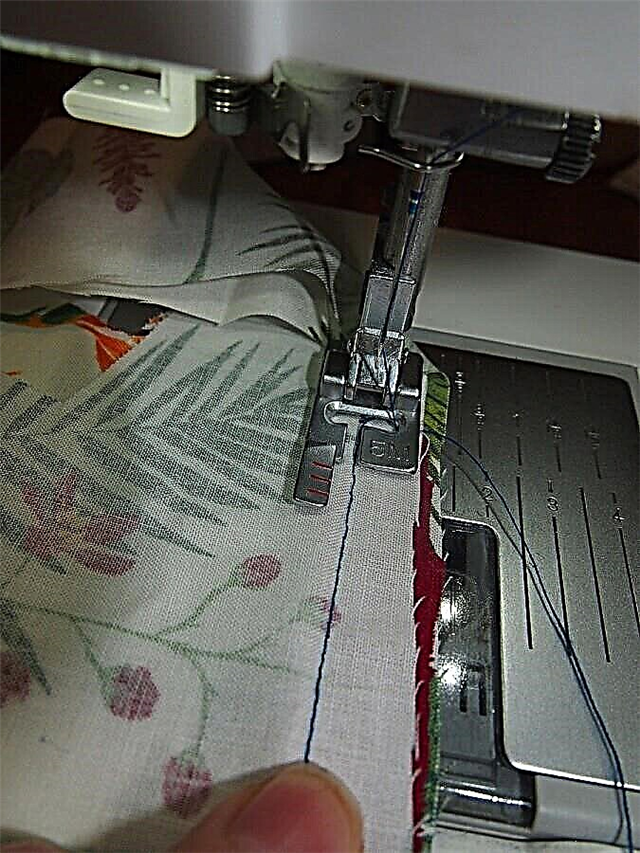
Step 10
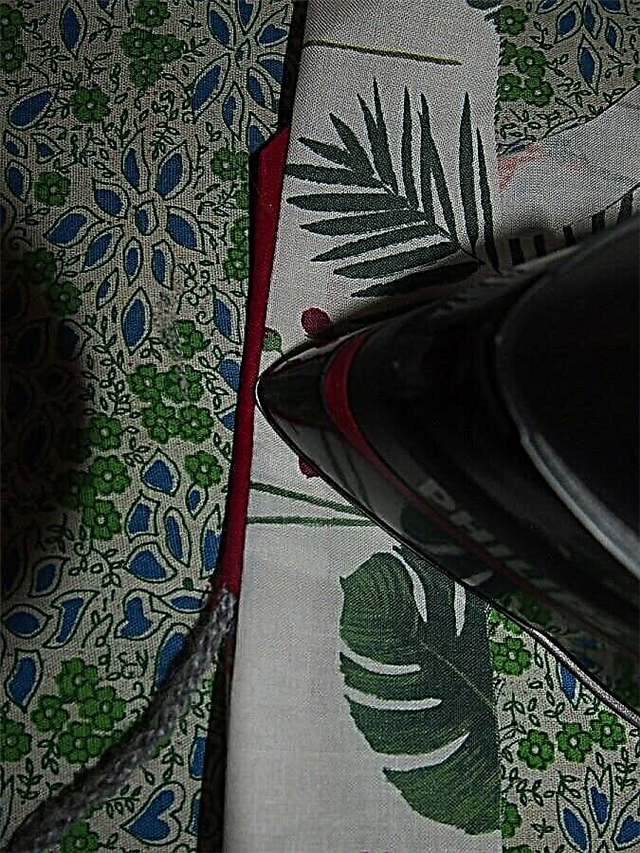
Iron the parts without touching the edging.
Step 11
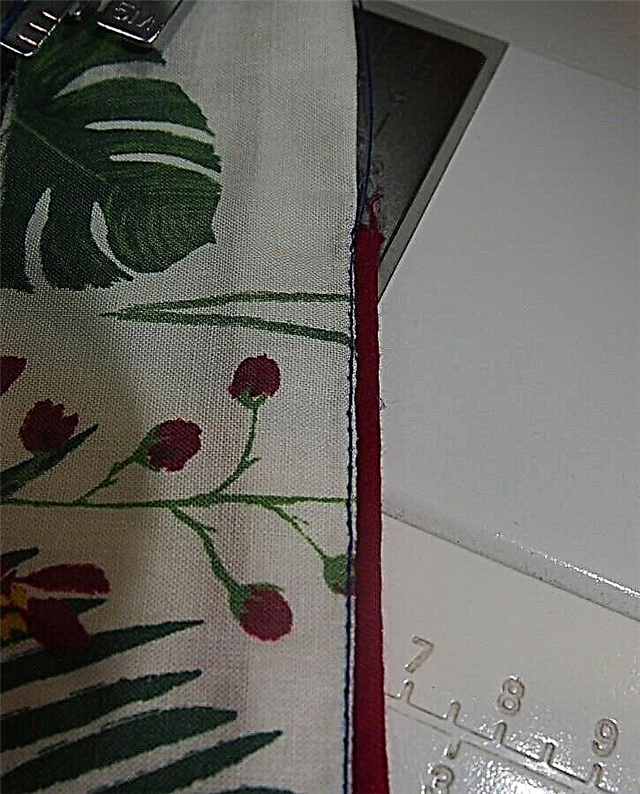
Sew a line close to the hem.
Author of a master class and photo: Oksana Sysa
Oksana has long been on our site. Her work is always accurate and attentive to detail. Oksana sews from childhood. Like many, she began her journey into needlework with dolls, and then she began to sew for herself and now for her entire family. She dreamed of associating her profession with sewing-design art, but she became a candidate of technical sciences and today Oksana works as an assistant professor at the university.
Material prepared by Julia Dekanova