With the help of fitting, the linear dimensions of a particular part of the product are reduced by assembling one of its sides into assemblies. This processing method is used in almost all types of clothing.
 Due to the addition, you can achieve a certain effect, give the product details a specific shape, for example, add volume to the sleeves or increase the splendor of the skirt. Also, dressing is often used as a decorative finish, for example, frills.
Basic sewing terms
The fitting allows you to connect with each other parts of the cut of different sizes. Picking up can vary significantly in the frequency of folds, from rare to maximally frequent. The latter is limited by the thickness and density of the material. For coarse fabrics, only a rare combination is suitable, for delicate and delicate fabrics such as chiffon - frequent.
How to pick up a part on a sewing machine
- Special offer

- 1
- 2
- 3
- 4
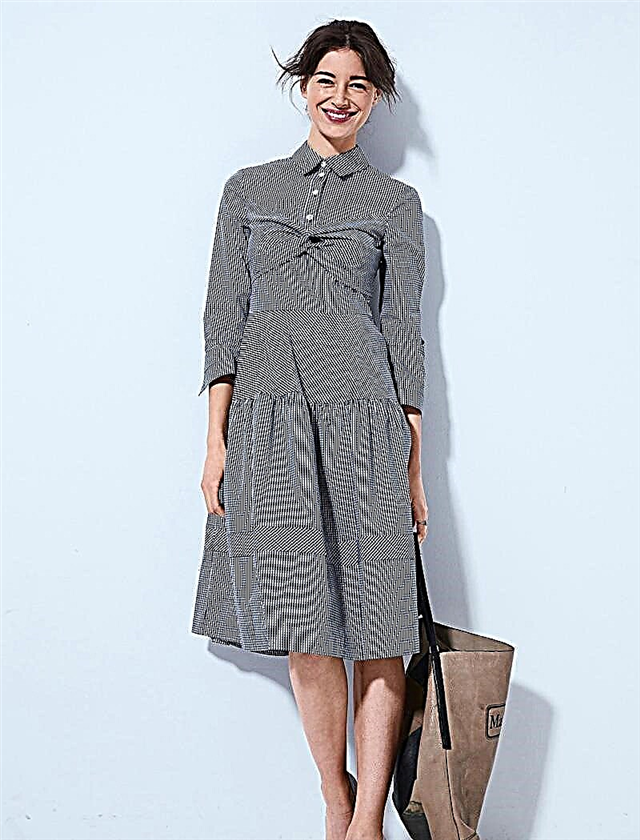
Using the example of a dress skirt from Burda 3/2018, consider the sequence for completing the dressing.To connect the yoke of the skirt with the tier, you must first pick up the tier of the skirt. To do this is quite simple, the main thing is to follow the instructions exactly.
Step 1
On the sewing machine, set the longest stitch length and loosen the upper thread slightly.
Step 2
 Lay two parallel stitches with large stitches along the upper cut of the tier of the skirt on either side of the marked seam line.
Do not bind at the end and at the beginning of lines!
Step 3
 Then pull the cut on the lower threads of the sewing stitches to the length of the lower cut of the yoke skirt. Tie the threads of the sewing lines.
Step 4
Distribute the assembly evenly.
Step 5
 You often pin the assembled tier of the skirt or sweep it to the bottom cut of the yoke, while folding the parts with their faces to each other and align the side seams.
Step 6
Stitch - lay a line between the threads of the assembly, exactly along the marked line of the seam, over the assembled edge of the tier of the skirt in order to trace the even distribution of the assemblies along the entire seam.
Step 7
Carefully remove the threading threads.
Step 8
Overcast seam allowances and iron on yoke.
How to process the edge with a narrow zigzag stitch: master class
If the model has several tiers, each next one is added similarly. If you need to pick up very long sections, for convenience they are divided into several parts and individually tucked.